Sunday, May 22, 2022

Life gets busier and sometimes you just have to have a break from something, but if you love what you doing doesn't take that long lol :) 

Received some orders from booties and mostly the popular 12 pointer star crochet blanket. I am so proud  how this creations turns beautiful and amazing. Will posted all my latest creation for your ideas and inspiration. 


This amazing, colourful beautifully handmade by me is in new owner and I hope she loves it as much as I do. 
Using a 8 ply Marvel yarn from Spotlight and 4 mm hook, just made my creation an easy work.
Measures 99cm in diameter or 39 inches, it is big than I thought.


Pattern I found in pinterest and here is a link if you would like to make it. It is a beautiful pattern, at first I thought it was hard but you will get the hang of it.

Please let  me know if you have a question.


Regards

Milina xxx


Wednesday, April 15, 2020

Crochet Cluster Coasters (3c's)

This is an easy pattern, I did make 2 kinds in acrylic yarn and cotton thread and they all turn out beautiful.

Materials:
2.5mm hook 
Crochet cotton thread ( you can use regular yarn you like but using 3.5mm hook)
Scissor
Needle for weaving

Stitches used and in US terms:
Shell stitch - (1dc,ch1,1dc,ch1,dc,ch1,dc,ch1,dc)
Sc- single crochet
Dc- double crochet
Sl st - slip stitch

Cluster stitch -  Insert the hook into the next stitch, yarn over, draw the yarn through the stitch, yarn over, draw the yarn through 2 loops on the hook.Repeat the preceding step 3times. You should end up with 5 loops on the hook. Yarn over and draw the yarn through all 5 loops on the hook.
One 4-double-crochet (4-dc) cluster is complete.

For the pattern:
Ch 10, sl st to form a ring

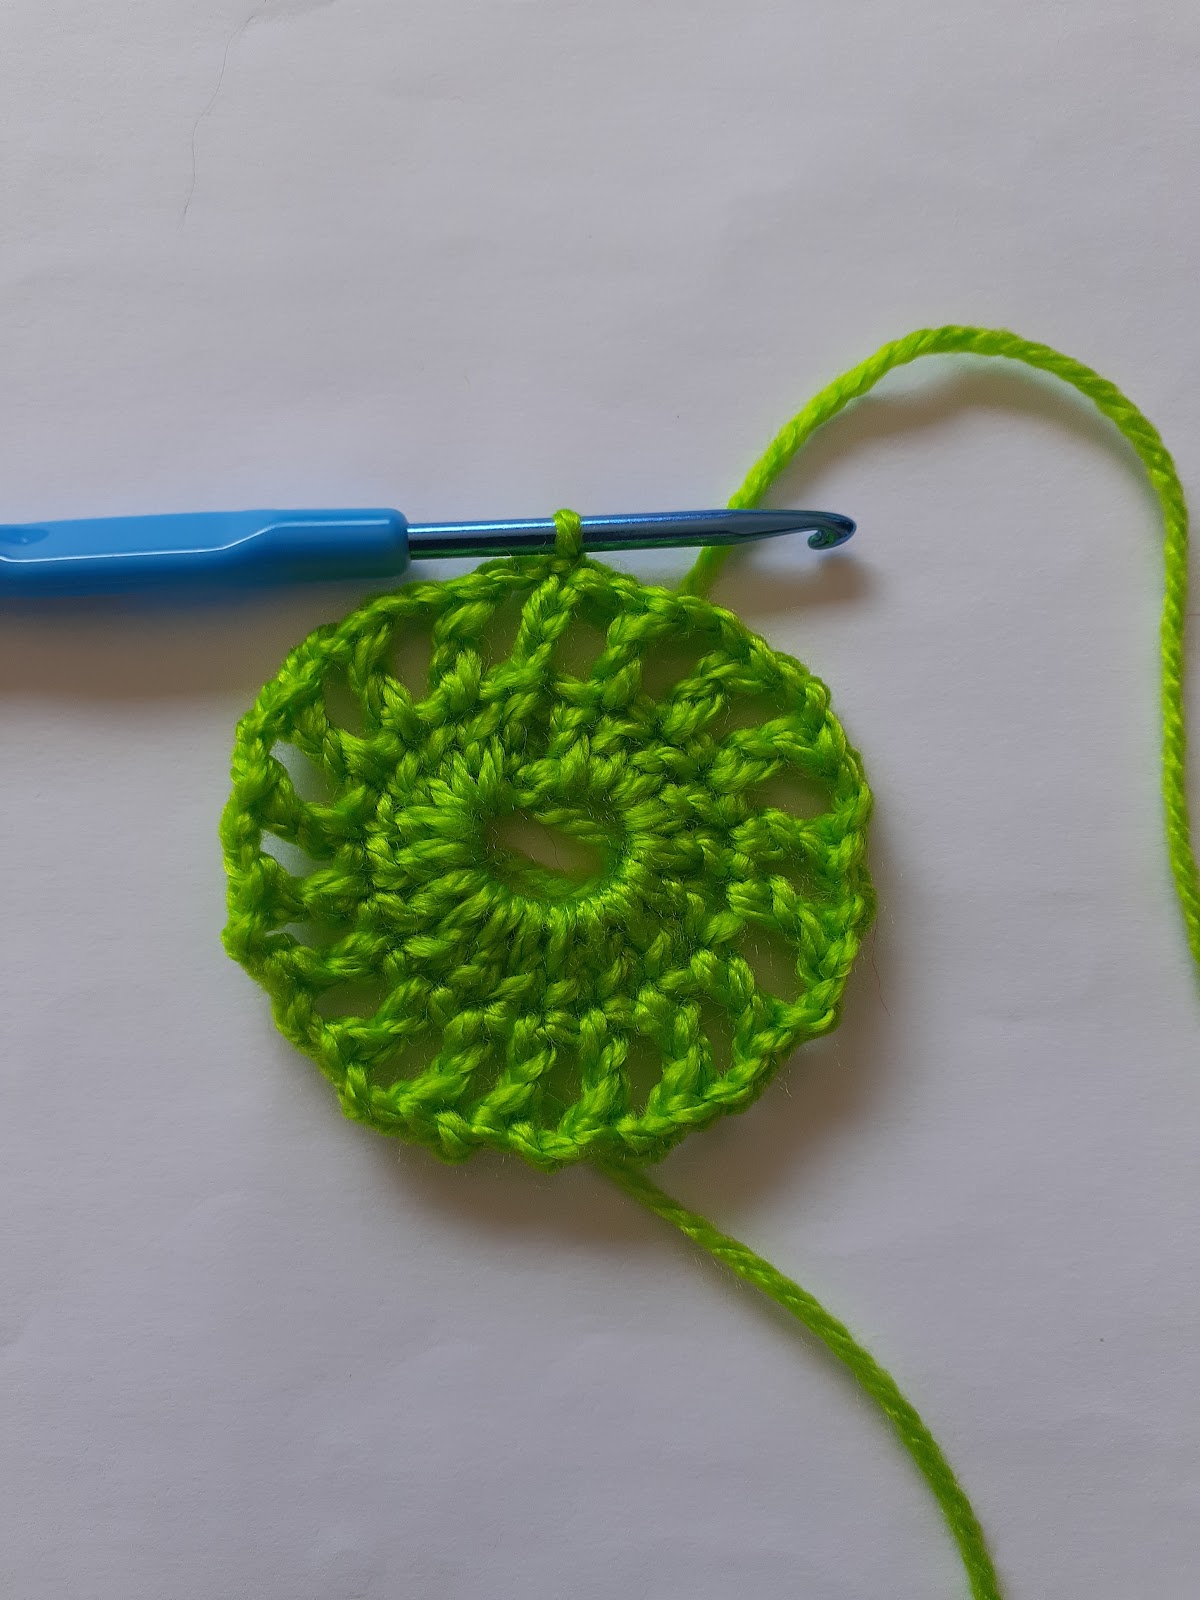
Row 1 : Ch3, into the ring, work 17dc ( total of 18dc) sl st to the 3rd chain.

Row 2: Ch3, ch2 again, dc next st, * Ch2, dc next st , repeat from* all around. Ending with ch2, sl st to the 3rd chain of first dc.
 

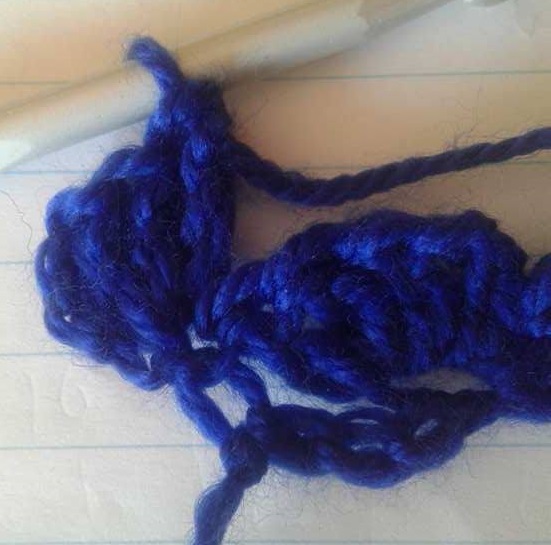
Row 3: Sl st to the ch2 space, ch3, work * Cluster (3dc) total of 4dc with ch3, *Ch4, cluster (4dc) next ch2 space, repeat from*  all around. Sl st top of first chain.


Row 4 :  Sl st to the ch4 space, ch3, 3dc same st, *4dc next ch4 space, repeat from* to the end.

Row 5: Sl st to the 2nd dc ( in between the 4dc space) ch3, ch2 again, skip 2dc, dc next space. *Ch2, skip 2dc, dc next space, repeat from* to the end.

Row 6: Sl st to the ch2 space, ch3, work cluster but only 3dc this row, *Ch4, cluster next ch2 space, repeat from* to the end.


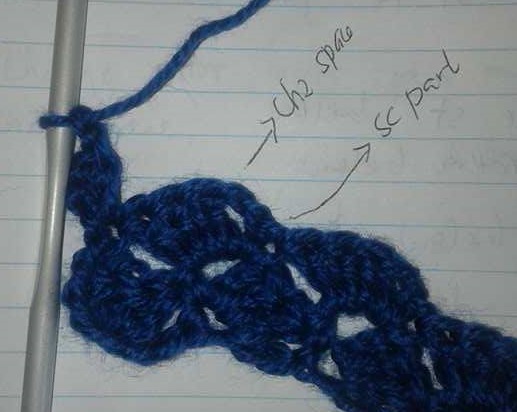
Row 7: Sl st to the ch4 space, (ch3, ch1, dc, ch1,dc, ch1, dc,ch1,dc,ch1,dc)  5dc in same space, and you just made a shell stitch, sc next ch4 space, work *shell stitch next ch4 space,  sc next ch4 space, repeat from * all around, ending with sc, sl st.

Weave ends and you’re done!


Hope you all like this easy coaster pattern. Please feel free to message me if you have question.

If you want a PDF Copy you can purchase it in my Ravelry Store.
Thank you so much!

Happy Crocheting!

Milina 


Sunday, December 29, 2019

Crochet Flower scrunchies


Merry Christmas everyone, hope you all had a great Christmas!!!

I know I am late posting my scrunchies but you always can  make it in any occasion.

This simple scrunchies just made out of flower pattern is an easy to make for a gifts or any occasion you would like.

I made some for my daughter Christmas gift for her friends and they love it.


Here is a simple pattern on how I did it.

Materials:

2.5mm hook
scissor
elastic rubber band 
scrap yarn in any colors


Stitches I used and in US Terms:

dc - double crochet
sl st - slip stitch 
st- Stitch

For the pattern:

Use the elastic rubber as a magic ring, ch2, dc by divisible by 9 until it's all fit in the ring.
Join with sl st in the first st.


Round 2: *Ch3, 3dc in the same st., ch3, join with sl st in the next st, sc,
repeat from * all around.


Round 3:  When you finished, bring the yarn to the back side of the flower,
make a knot and cut the yarn.


...and you all done!


Hope you like it as much I love it, I made heaps of it, with different colours.

Please let me know if you found errors and please post a finished product on my fb page 


Have fun and ENJOY!

Happy New Year!!!!


xxxxMilinaxxx


Monday, October 21, 2019

Queen of the night


Hello everyone, it's been awhile,been missing blogging but due to mum duties as my youngest already in Kindy I have to look after her and make sure everything is well.

I am back and it's been in my list to blog this beautiful flower been gifted to me by my nextdoor neighbour called the Queen of the night, sure is a Queen of the night as it's only blooms at night.

Full bloom
Queen of the night is a very special kind of orchid cactus, you have stay up late to enjoy the  beauty of this flower.


this is the start


It is very beautiful and amazing indeed, just pity that it won't last long.


The queen of the night only flowers between dusk and dawn.

I wish next time I can show you a video, that would be awesome,  but sometimes if you are tired, you rather sleep hahaha lol

Hope you enjoy this Queen of the night,  won't be long and I have another flowers will bloom soon.

Happy reading xxx 

Monday, May 14, 2018

Crochet Elegant Cowl


Winter is coming to Australia and this is the best way to make 
you feel warm by making your own Elegant Cowl or scarf. 
This is an easy pattern
and I hope you all like it.

18221641_1308617872578457_4929093024608912608_n.jpg

MATERIALS:

5mm hook
8ply yarn or your choice of yarn
(I used Moda Vera with sparkling yarn)
( I used dark blue, but photo doesn’t do justice :)
2 Buttons
Needle for sewing and weaving ends
Scissor


Measurements of the Cowl
32 inch height
6 inch width
Just right size to wear


For the pattern:
Make a number of chain multiple by 4 + 4 extra turning
I chained 28 plus 4


Row 1:
Work 3dc into 4th chain from the hook
*skip 3sts, (1sc,ch2,3dc) next st.
Repeat from* to last ch4
Skip 3sts, 1sc last chain.
Turn your work

Row 2
Ch3, 3dc into first sc (edge st)
18191313_1308751069231804_1233433896_n.jpg
Skip the 3dc’s, then work

*(1sc,ch2,3dc) to the ch2 -space of the previous row
Repeat from*
When you reach the last group,
sc into top of ch3
Turn your work

Repeat Row 2 until you have your desired length for your cowl
or if you want a scarf.

For the straight edge:
Ch3,1dc into first sc ( edge st)
*Ch1, 1sc into ch2 space, 2dc next sc
18191609_1308783215895256_250739310_n.jpg
Repeat from* to end
ch1,sc 3rd chain of ch3.

Sew the buttons, you can use one or two buttons and you’re done!


Hope you enjoy this simple yet elegant cowl.


Have fun


Milina
Note: You can sell your finished product from this pattern but a credit for me be nice, thank you <3

If you would like a PDF Copy please visit my Ravelry


Monday, March 19, 2018

Chickenjoy with sweet and sour sauce


Hello everyone, it's been awhile I didn't do 
any blogging, hope everyone is ok.


I just wanna share my cooking on how to make
sauce for this chicken joy,
hope everyone likes it.


When I was young, my mum always cook
this sauce for us, the same taste,
but I  just added some veggies for decorations.
My kids loves it and hope you all love it too.


If you want to know how to cook chickenjoy,
I already have the recipe here


SWEET AND SOUR SAUCE RECIPE


For the ingredients:
1 small onion
3pcs garlic
canola oil or choice of your oil for frying
1pc capsicum ( any color)
1pc Chilli (optional)
3 tablespoon tomato sauce/ ketchup
1/3 cup of water
salt and pepper
1 teaspoon sugar
1/3 cup soy sauce


* Fry onion, garlic, capsicum, until a little bit brown


* Add the soy sauce, water, let it boil, 
taste it to make it sure it's not salty,
add water if necessary, stir and boil for 3mins.


* Add sugar, boil, stir, add the tomato ketchup,
Boil for 5mins until the sauce
 become thick a little.
Add the chilli, pinch of salt and pepper
and you're done!


* Pour into your prepared chickenjoy, 
fried or steam fish and
 you will have a delicious meal
 you  can even pour it on your plain rice, YUM!


For this recipe I made 1 and ½ cups of sauce,
you can adjust by adding or less soy sauce.


Thank you for taking time reading it, 
and wanna see how you cook it.


MILINA