
Materials:
5mm hook
4.5mm hook for neck edging
Choice of yarn (8ply)
Scissor
Yarn needle
Button
Sizes:
This will fit 2-5 years old -
Stiches used: (US term)
Dc- double crochet
V-stitch (dc,ch2,dc) in ch2 space
Ch3 - (count as first dc)
Hdc- half double crochet
Sc- single crochet
Tr- treble crochet used in spider stitch
To start with:
Chain 88 plus 3 extra turning
Row 1: With colour blue
Dc to the 5th chain from hook
1dc to the next 12 sts - (13 sts) Left side
Ch2,1dc to the next 20 sts - (shoulder part)
Ch2,1dc to the next 22 sts. - ( back part)
Ch2, 1dc to the next 20 sts - (shoulder part)
Ch2, 1 dc to the next 12 sts - ( right side)
Dc last chain
Row 2:
Ch3 - ( count as first dc) turn
1dc in each of next 12 sts ( 13 sts)
To the ch2 space work v-st or (dc,ch2,dc)
1dc to the next 20 sts , v-st
1dc to the next 22 sts, v-st
1dc to the next 20 sts, v-st
Dc to the next 12 sts, dc top ch3 (13 sts)
Row 3: - change color yarn to white yarn
Ch3, (count as first dc), turn
Dc to the next 13 sts - (14sts), v-st.,
1dc to the next 22 sts, v-st
1dc to the next 24 sts, v-st
1dc to the next 22 sts, v-st
1dc to the next 13 sts
Dc top of the ch3 (last st.) (14sts)
Row4:
Ch3, turn
Dc to the next 14 sts (15sts)
Work v-st
1dc to the next 24 sts, v-st
Dc to the next 26 sts, v-st
1dc to the next 24 sts, v-st
Dc to the next 14 sts, dc top of chain3 ( 15sts)
Row5:
Ch3, turn
Dc next 15 sts (16sts), work v-st
Dc next 26 sts , v-st
Dc next 28 sts, v-st
Dc next 26sts, v-st
Dc next 15 sts, dc top of ch3 ( 16 sts)
Row 6:
Ch3, (count as first dc), turn
Dc to the next 16 sts - (17sts), v-st.,
1dc to the next 28 sts, v-st
1dc to the next 30 sts, v-st
1dc to the next 28 sts, v-st
1dc to the next 16 sts
Dc top of ch3 (last st.) (17sts)
Row 7: Change back to color blue
Ch3, (count as first dc), turn
Dc to the next 17 sts - (18sts), v-st.,
1dc to the next 30 sts, v-st
1dc to the next 32 sts, v-st
1dc to the next 30 sts, v-st
1dc to the next 17 sts
Dc top of ch3 (last st.) (18sts)
Row 8:
Ch3, (count as first dc), turn
Dc to the next 18 sts - (19sts), v-st.,
1dc to the next 32 sts, v-st
1dc to the next 34 sts, v-st
1dc to the next 32 sts, v-st
1dc to the next 18 sts
Dc top of ch3 (last st.) (19sts)
Row 9:
Ch3, (count as first dc), turn
Dc to the next 19 sts - (20sts), v-st.,
1dc to the next 34 sts, v-st
1dc to the next 36 sts, v-st
1dc to the next 34 sts, v-st
1dc to the next 19 sts
Dc top of ch3 (last st.) (20sts)
Row 10:
Ch3, (count as first dc), turn
Dc to the next 20 sts - (21sts), v-st.,
1dc to the next 36 sts, v-st
1dc to the next 38 sts, v-st
1dc to the next 36 sts, v-st
1dc to the next 20 sts
Dc top of ch3 (last st.) (21sts)
Note: Please measure your work, if you are happy with the size you can stop from here,
or if you want a bigger size, you can keep increasing, making sure when you shape the arm, it’s not back to front :)
Dont forget to place marker in between the parts for armholes.
Row 11: SHAPING THE ARMHOLES
Ch3, (count as first dc) turn
1dc to each of the next 21 sts (21 sts)
When you reach last dc skip ch2 space dc next dc,
working opposite side (left shoulder) work dc just before the ch2 space,
skip ch2 space,dc next dc,
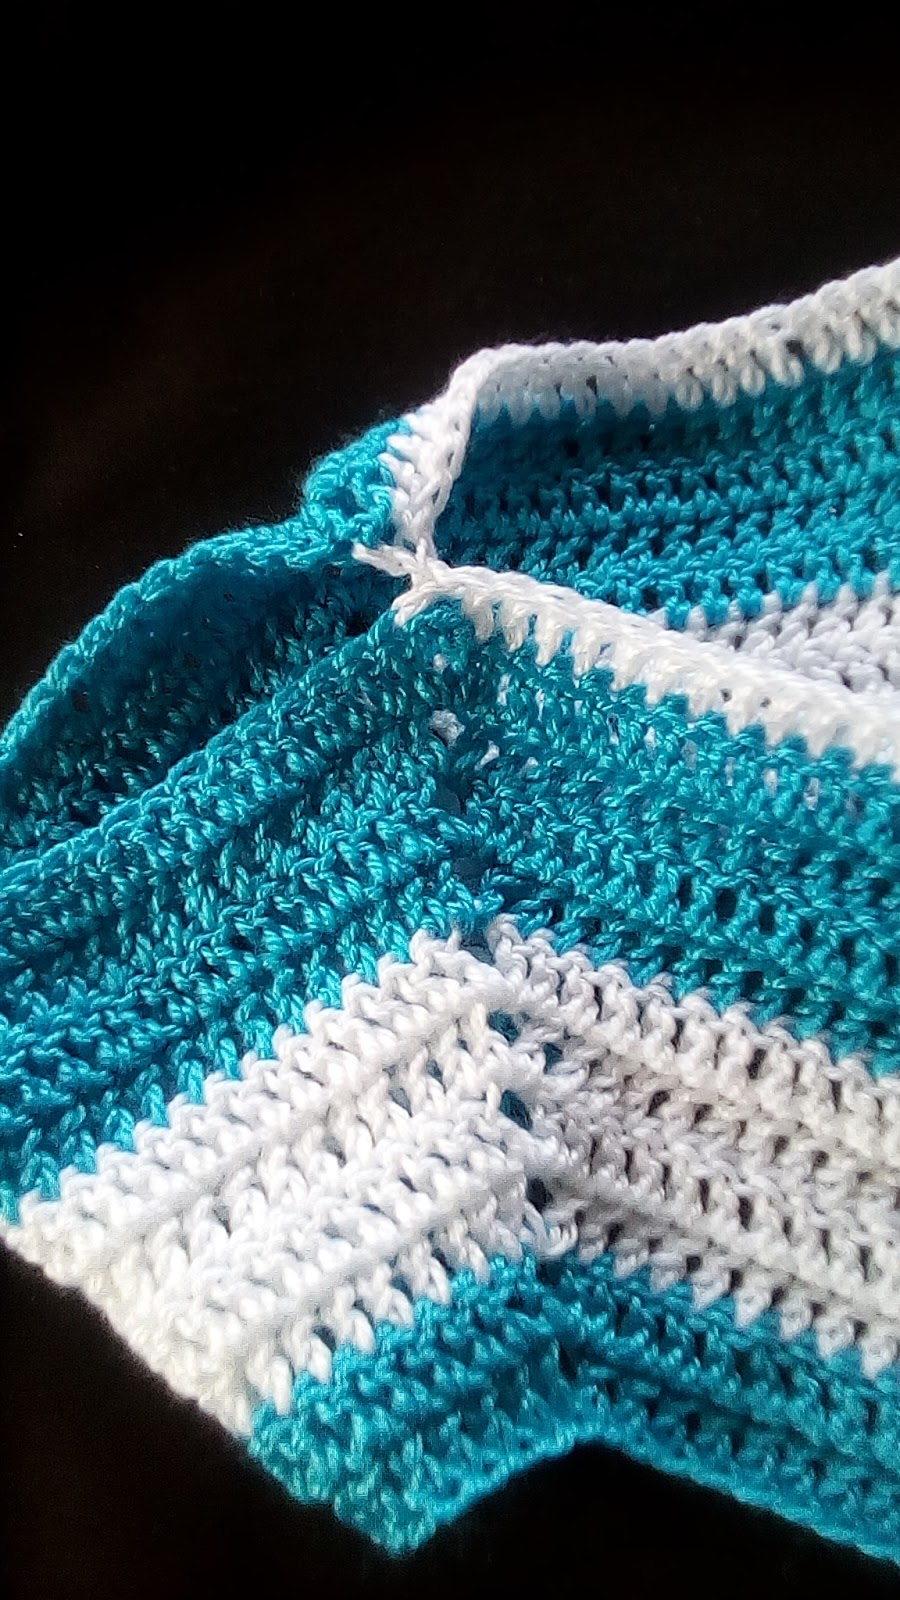
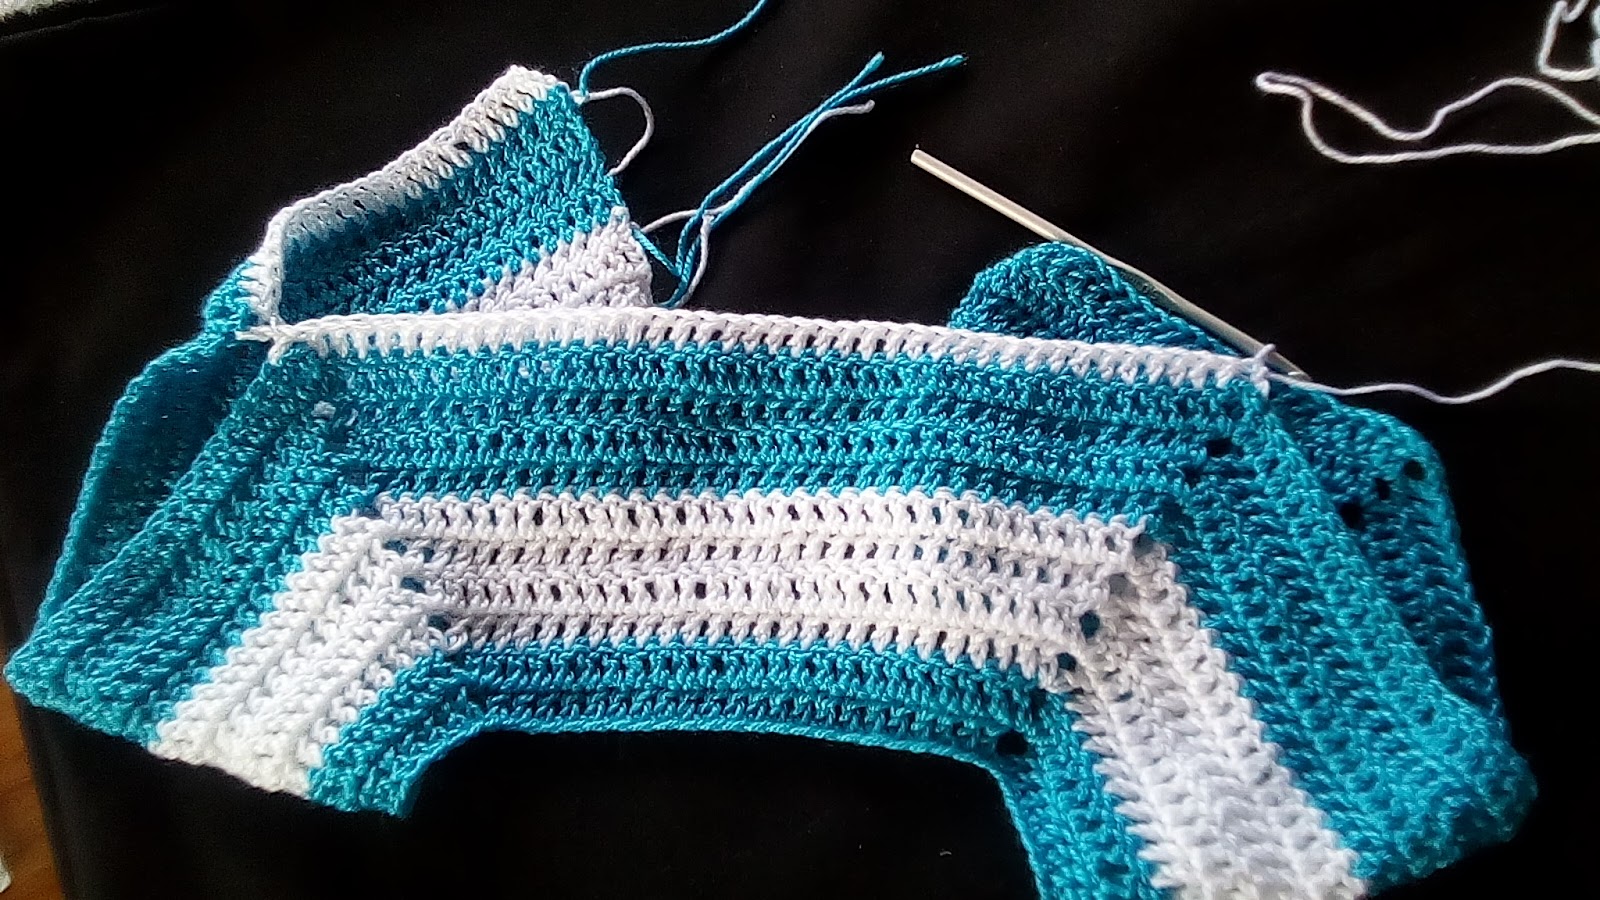
Pictures below are only guide for the shaping of armholes
(first armhole made)
dc to the next 39 sts (back part) (40sts)
When you reach the last dc of back part, skip ch2 space, dc next dc. Turn your work
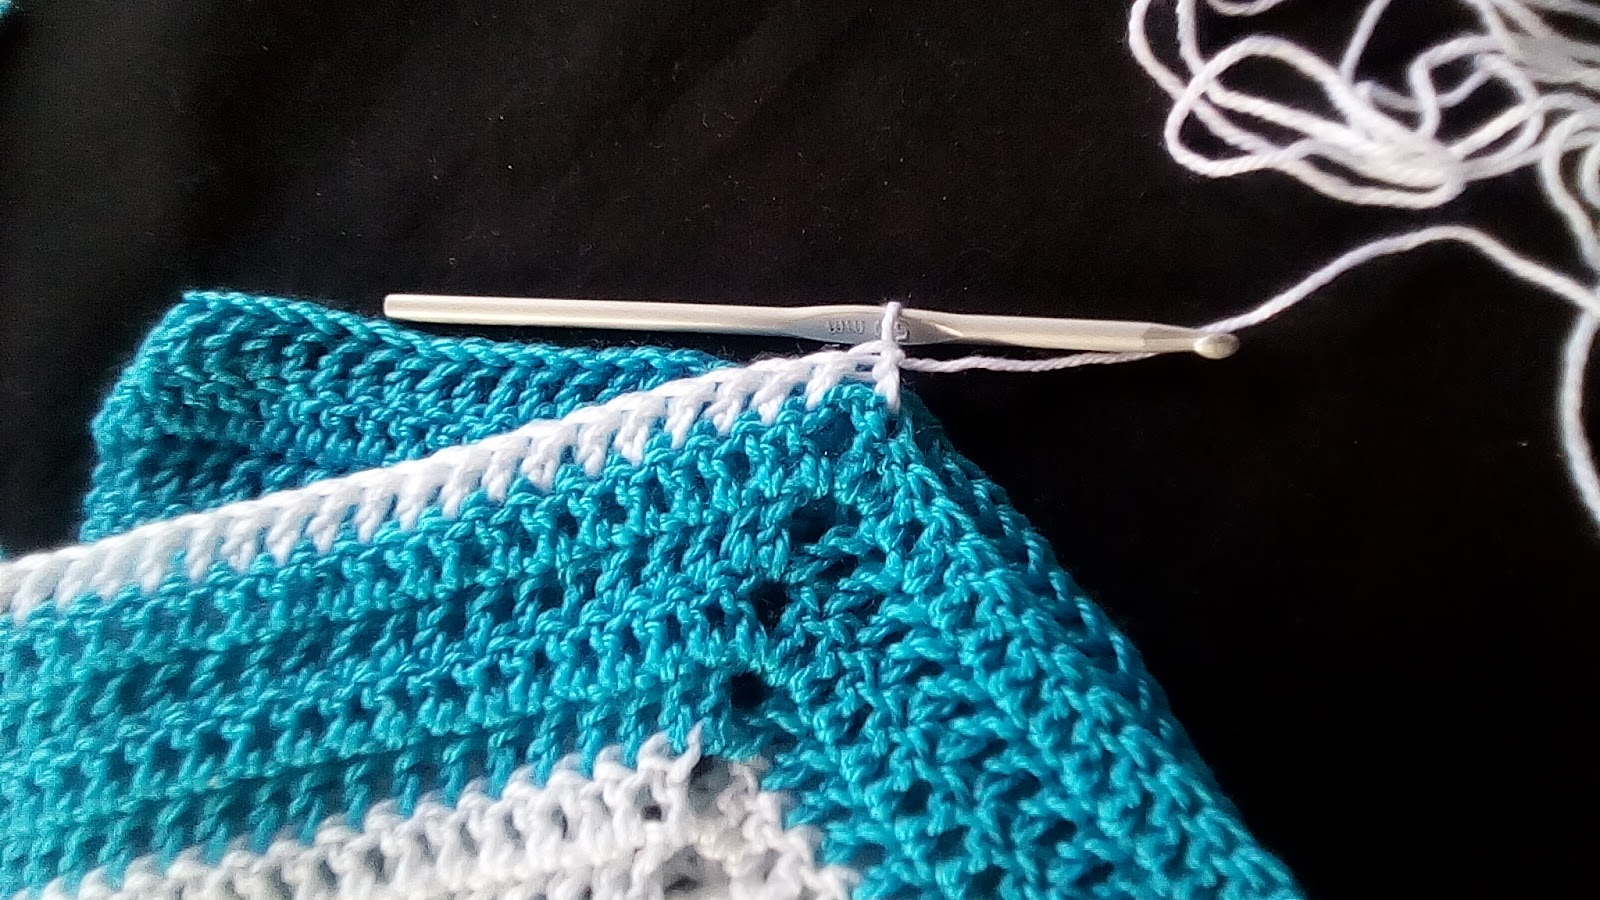
Insert hook and work dc opposite where the shoulder part the 2dc’s in between of the ch2 space
( second armhole made)

dc to the next 20 sts and dc top of ch3 ( 22 sts).
Row 12: still in color to blue, ch3 (count as first dc) and 1dc into each chain including the armholes to end. (88 sts)
Row 13-14: Repeat row 12 in white color yarn
Row 15: ch2 (count as first sc) work sc in every stitch to the end.
From this row we will start the spider stitch
Row 16: Ch3(count as first dc), dc to the next 3 sts, ch4, *work tr,ch1 skip next st, tr next st, repeat 4x, ch4, skip 1 st, 1dc to the next 5sts, ch4, repeat from* to the end, skip 2sts, dc to the next 3sts, dc top ch3.
Row 17: Ch3, dc in each of the 3 sts, ch4, * work TR to the top of tr of previous row,do this 4x, ch4, dc next 5 sts, ch4 repeat* until the end, 1dc next 3 sts, dc last st.
Row 18 : Ch3 (count as first dc), dc in each of the next 3sts, *ch4, sc next 4tr, ch4, dc to the next 5dc of previous row, repeat from* to the end, ch4, dc to the next 3 sts, dc top of ch3.
Row 19: ch3 (count as first dc) dc to the next 3 sts, *ch4, sc to the 4sc of previous row, ch4, dc to the next 5dc, repeat from* to the end, ch4, dc to the next 3sts, dc top of ch3.
Row 20: ch3(count as first dc), dc to the next 3sts, *ch4, work 4tr to the top of 4sc, ch4, dc to the next 5dc, repeat from* to end, ending with ch4, dc to the next 3sts, dc top of ch3.
Row 21: Ch3,(count as first dc) dc to the next 3sts, *ch4, work tr,ch1,tr into the 4tr of previous row, 4x ch4, dc to the next 5sts, repeat from* to the end., ch4, dc to the next 3sts, dc top of ch3.
Row 22-23: Ch3, work dc in every stitch to the end, including the ch4 chains.
Row 24: ch1, work sc in every stitch to the end.
Row 25: Ch3(count as first dc), dc to the next 3 sts, ch4, skip 4sts *work tr,ch1, tr next st, repeat 3x, ch4, skip 4 st, 1dc to the next 5sts, ch4, repeat from* to the end, skip 3sts, dc to the next 3sts, dc top ch3.
Row 26: Repeat from row 17, and ended up row 24.
You can continue depend on how long your cardigan would be and if you are happy with the length.
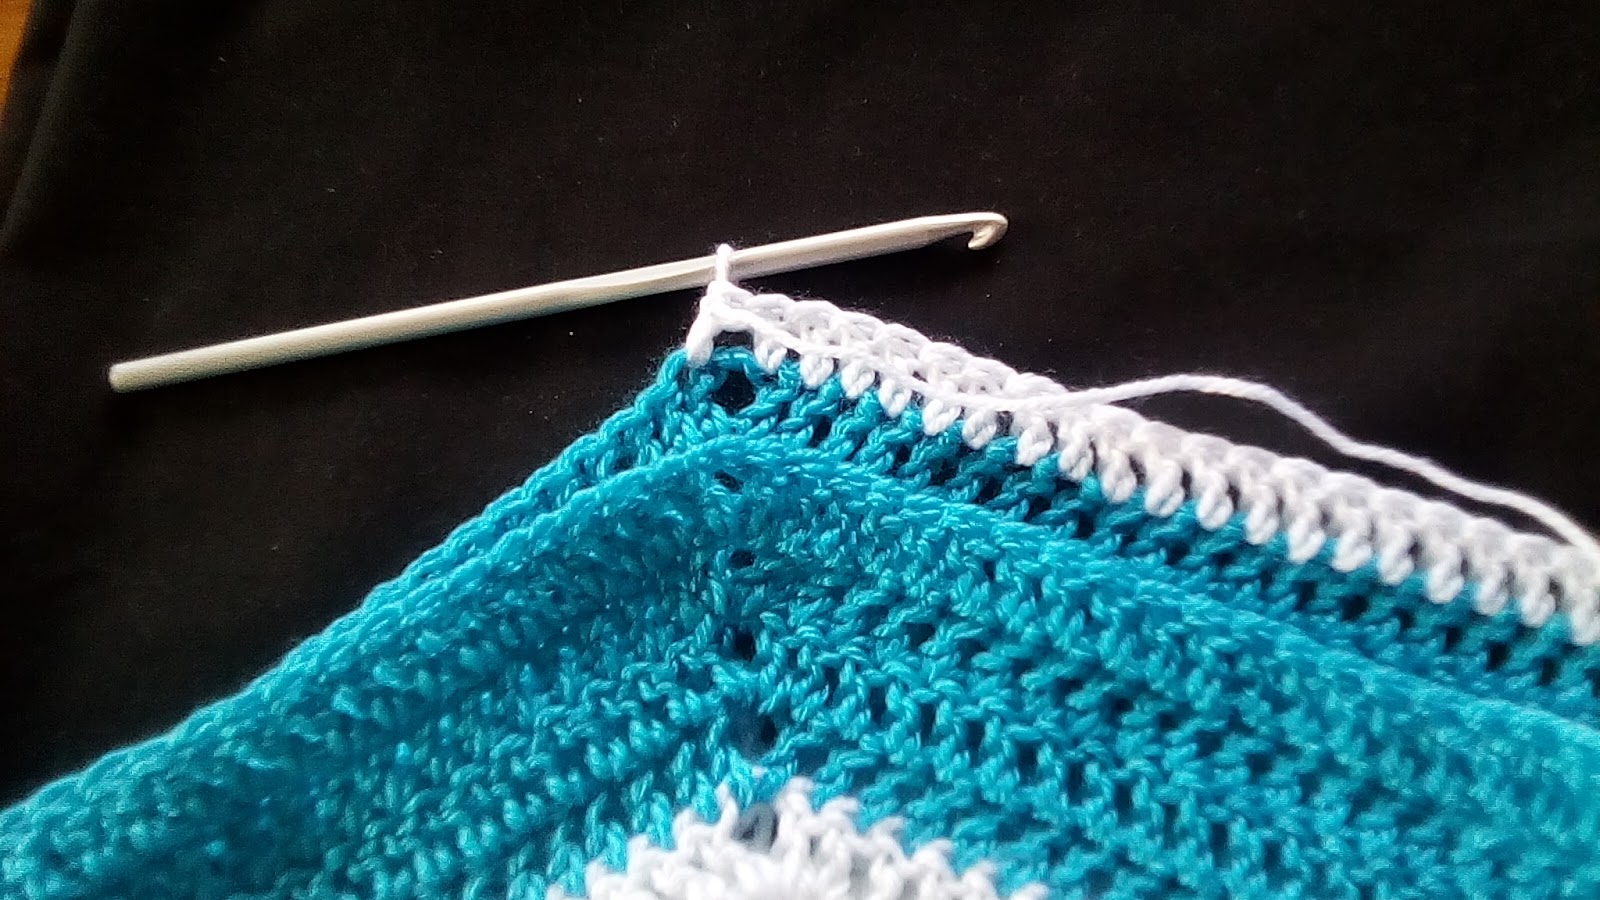
For the edging:
*If you happy with the length of your cardigan weave the edge part then work sc the last row but don’t fasten off, change to 4.5mm hook, work from bottom to top edge with 2sc every space, for the neck part work 1sc until the opposite top edge and 2sc in every space down to the bottom of the other part, fasten off.
Insert white yarn with 4.5mm hook, work moss stitch for edging all around the cardigan, ch1, sc next st, ch1,skip next st, sc next st, repeat until the end. Fasten off and weave end and put button for closing. And you're done!
Please let me know if you have a question and I hope you enjoy this pattern of mine.
If you want a pdf copy, please visit my ravelry store
Thank you - Milina
No comments:
Post a Comment